Not enough time to sit in front of a screen and watch a DVD? Why not just take the audio off your DVD and burn it onto a CD, or copy it to iTunes, your phone, iPod, or iPad, and listen to it while commuting, driving, running, or cooking? On this page, we'll show you how easy it is to take audio clips from a DVD using Cinematize 3.
Unlike other similar products that only allow you to extract the audio from an entire DVD or from a chapter, Cinematize 3 lets you take just the portion you want from your DVD. You may have a lecture DVD and want to listen to a particular section, or perhaps you want just a particular song or musical passage from a soundtrack. Cinematize 3 gives you the flexibility to extract audio from an entire DVD, one or more chapters, or just the particular portion you want. Cinematize 3 also extracts while preserving the high quality of the original audio.
STEP 1: Select the audio you want to extract from your DVD
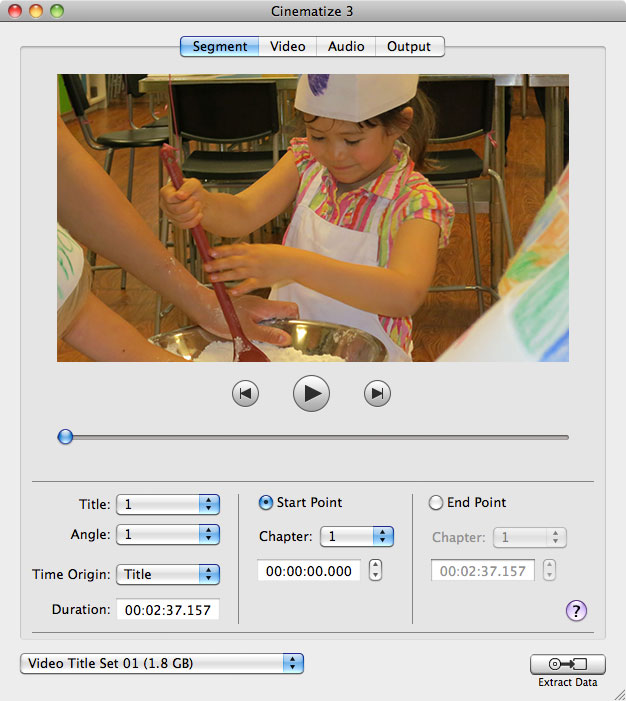
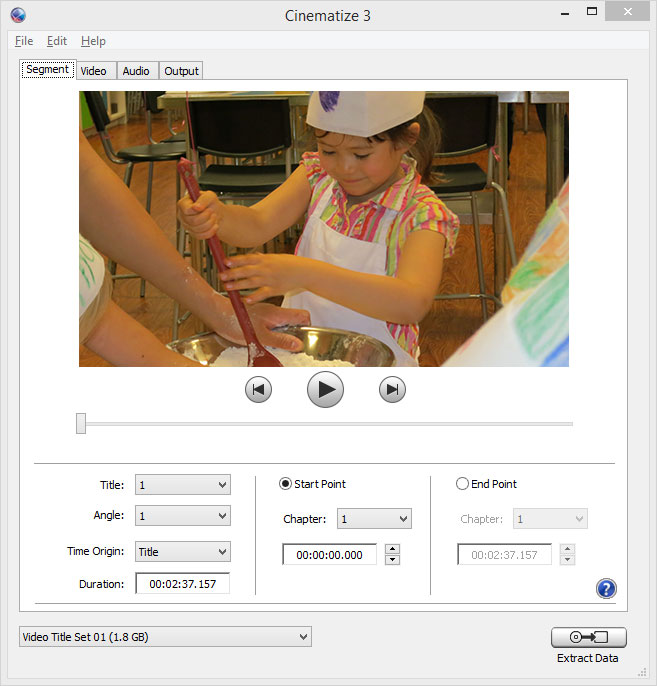
- Extracting an entire audio track from a DVD
By default, Cinematize 3 selects the start of chapter 1 as the Start Point, and the end of Chapter 1 as the End Point. If your DVD has only one chapter, no changes are necessary. Otherwise, click the radio button for End Point and choose the last chapter from the End Point chapter popup menu. Cinematize 3 will automatically set the End Point to the end of that last chapter. - Extracting a just portion of an audio track from your DVD
Click the Play button under the preview window to preview your movie. Select your desired Start Point, then click the radio button for End Point and set your desired End Point. - Can't find the portion of the audio that you want?
If this is the case, your DVD probably has multiple chapters, titles, angles, or video title sets. Click the popup menus for Chapter, Title, Angle, and Video Title Set to explore and find the audio you want. Cinematize 3 allows you to extract all the audio available on DVD except the audio in menus. Cinematize 3 Pro allows you to extract audio from the menus as well.
STEP 2: Disable the video stream on the Video Tab
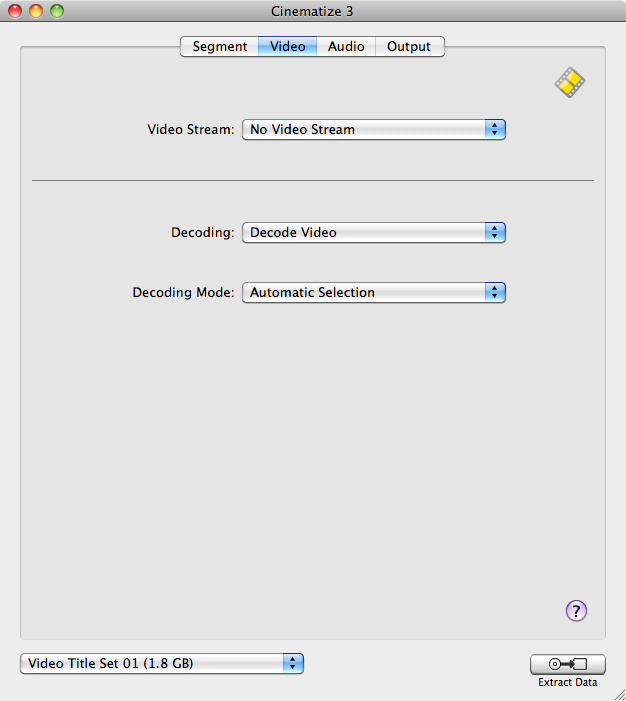
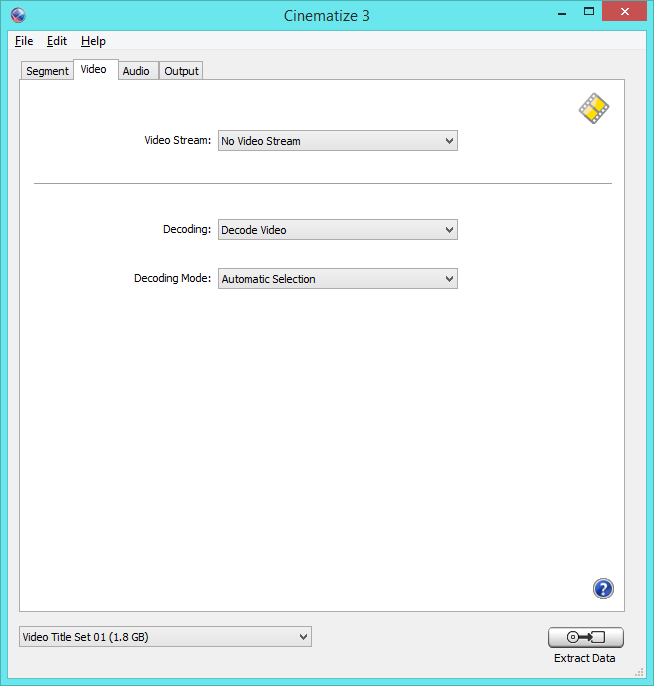
- Set the Video Stream to be "No Video Stream"
In this step, all you need to do is to set the Video Stream to be "No Video Stream" on the Video Tab. The rest of the settings will be ignored. This ensures that you will only be extracting out audio.
STEP 3: Select the audio stream you want on the Audio Tab
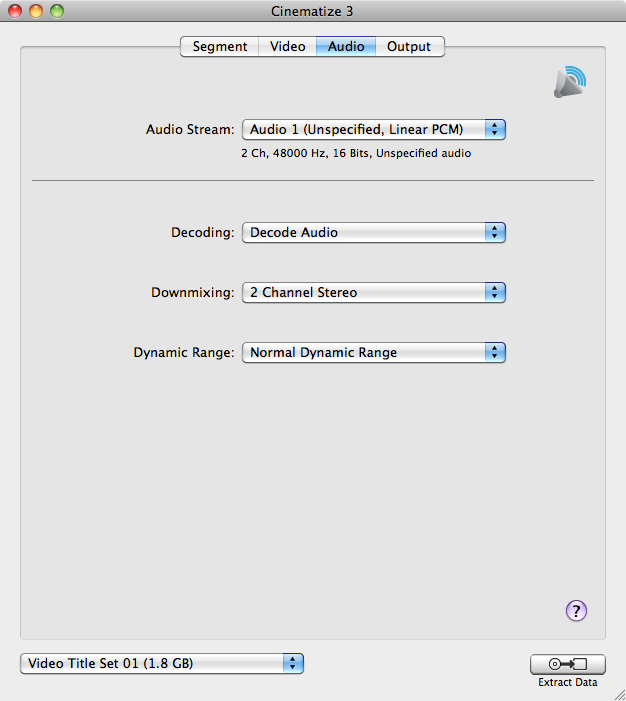
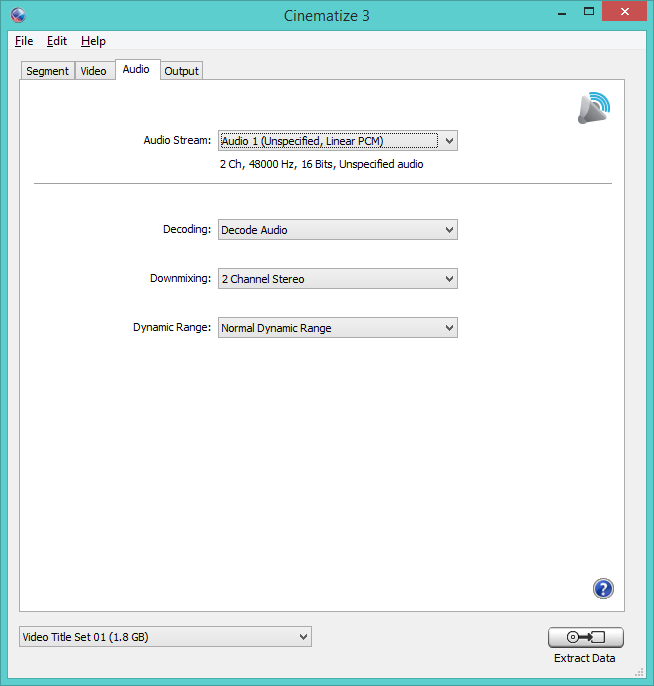
- If the DVD has only one audio track
Unless the DVD is authored in a complex way, usually there is only one audio track present. If this is the case, just leave the settings on the Audio Tab at the defaults and don't make any changes. Just make sure "Audio Stream" is set to "Audio 1". - If the DVD has multiple audio tracks
Click the Audio Stream popup menu to select the audio track you want. If are not sure which track to choose, you can select each one in turn and go back to the Segment tab to listen to it using the preview function.
STEP 4: Select the output options on the Output Tab and extract
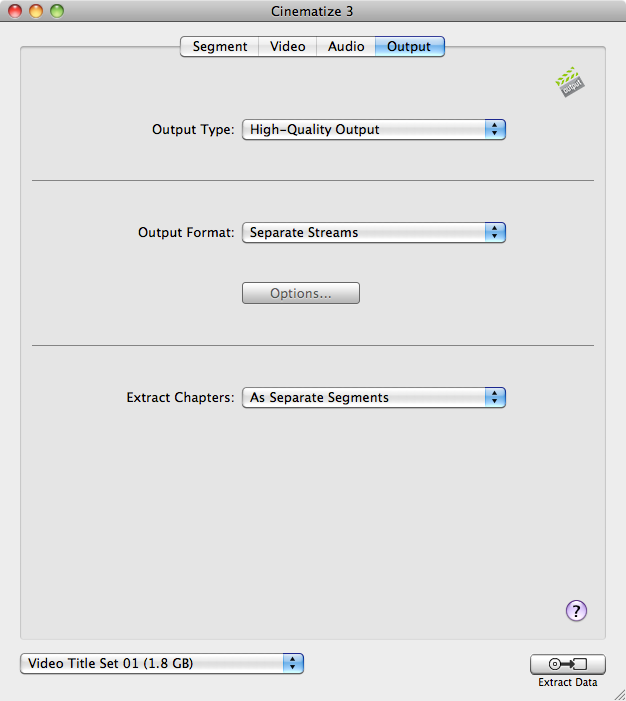
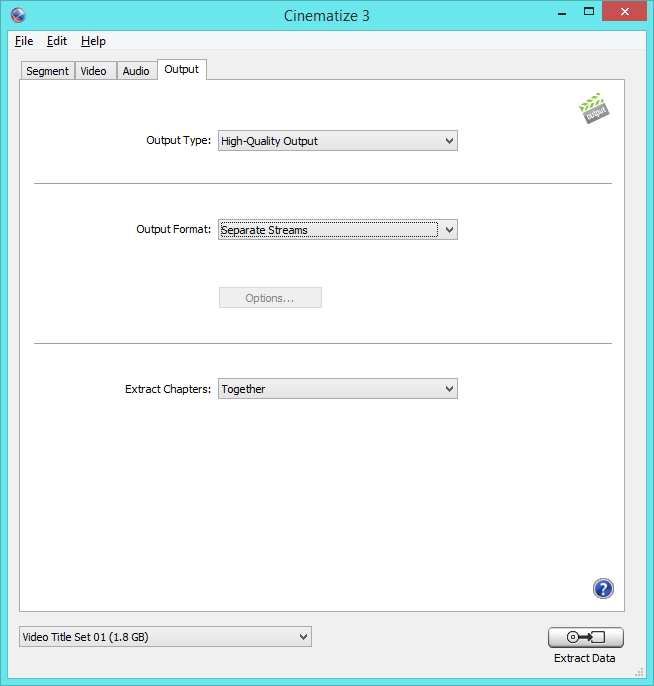
- Set up the Output Type and Output Format
Set the "Output Type" to be "High-Quality Output" and the "Output Format" to be "Separate Streams". - If your audio clip is within just one chapter
The "Extract Chapters" setting has no effect. Leave the setting at the default, "Together As One Segment.". - If your audio clip extends across multiple chapters
In this case, you have the option of saving out one complete audio file or breaking up the audio into shorter clips at the chapter markers. Select "Together As One Segment" to keep everything together in one file, or select "As Separate Segments" to split the audio into different files at each chapter break. - Extract out the audio
Just click the "Extract Data" button to extract out your audio. - What comes out?
The output file will be either an AIFF file or a WAVE file, depending on what you have selected in Preferences under Audio. By default, the Mac versions of Cinematize 3 will save out AIFF files, and the Windows versions will save out WAVE files.